For years, the obvious choice for digital marketing for users of Microsoft Dynamics has been Click marketing automation software (formerly known as ClickDimensions). This is because Click is entirely designed and built around Dynamics 365 and sits natively right within the Dynamics interface.
In spring 2018 Microsoft launched their own marketing product suite to complement the sales and service applications that have been around for years. In fact, this was Microsoft’s second attempt at launching a marketing product. The original marketing product was “pulled” after a year or so. I won’t go into the reasons in this post, but the product wasn’t a good fit for its intended audience. The big difference this time around is that Microsoft has developed the new product from the ground up themselves, instead of buying something and then trying to “shoehorn” it into something that it was never intended to be.
The Challenge
Customers looking for the best digital marketing platform to use with Dynamics 365 now have two strong contenders to choose from. In the next two posts, we have compared the two products in just one feature area: email marketing templates. When customers think of a digital marketing tool, the number one feature they want to talk about is email marketing. So, we decided to test drive the experience of creating a marketing email template both in Click and in Microsoft Dynamics 365 for Marketing and compare the two experiences.
Dynamics 365 marketing vs clickdimensions and in Part 2 we’ll be using Click. We aren’t going to go into every detail of creating an email template,as this is not meant to be a training guide but merely a simple walk through of the experience.
Dynamics 365 for Marketing
Layouts
Dynamics 365 for Marketing offers a collection of ready-made templates, of different layouts, to choose from. It also allows searching or filtering of the templates in order to find the one you want.
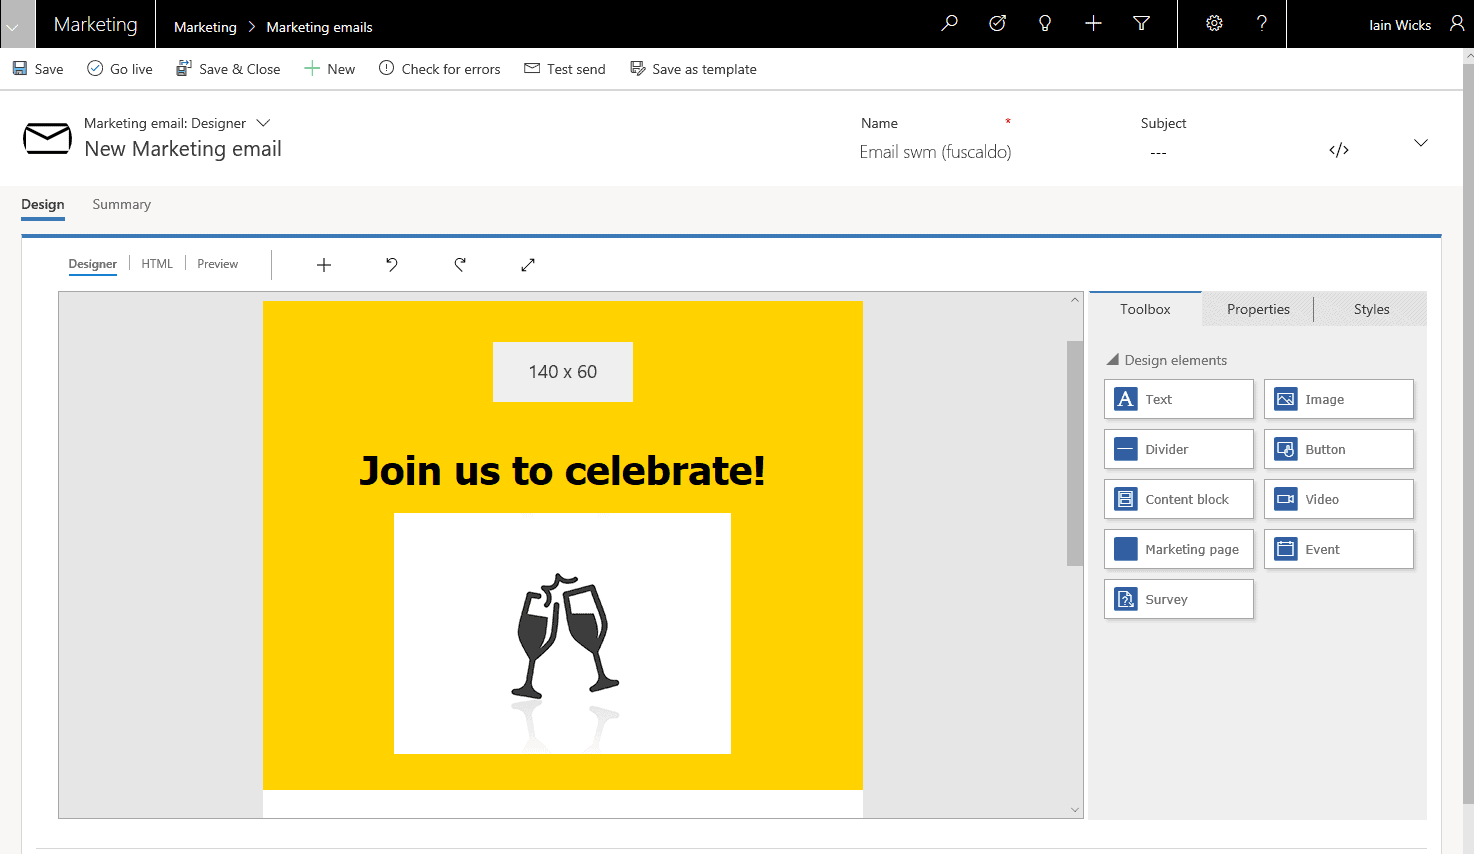
Once you have highlighted a template you are provided with a larger preview of the layout on the right, from which you can select the template to load. The template loads into the designer view. From here you can edit the template or add further design elements from the toolbox area on the right.
Design Elements
As you highlight an element, the properties window will open (on the right-hand side)so that you can edit the properties for that element.
Images
Highlighting the large image section on this template opens the properties tab for the image on the right-hand side of the designer.
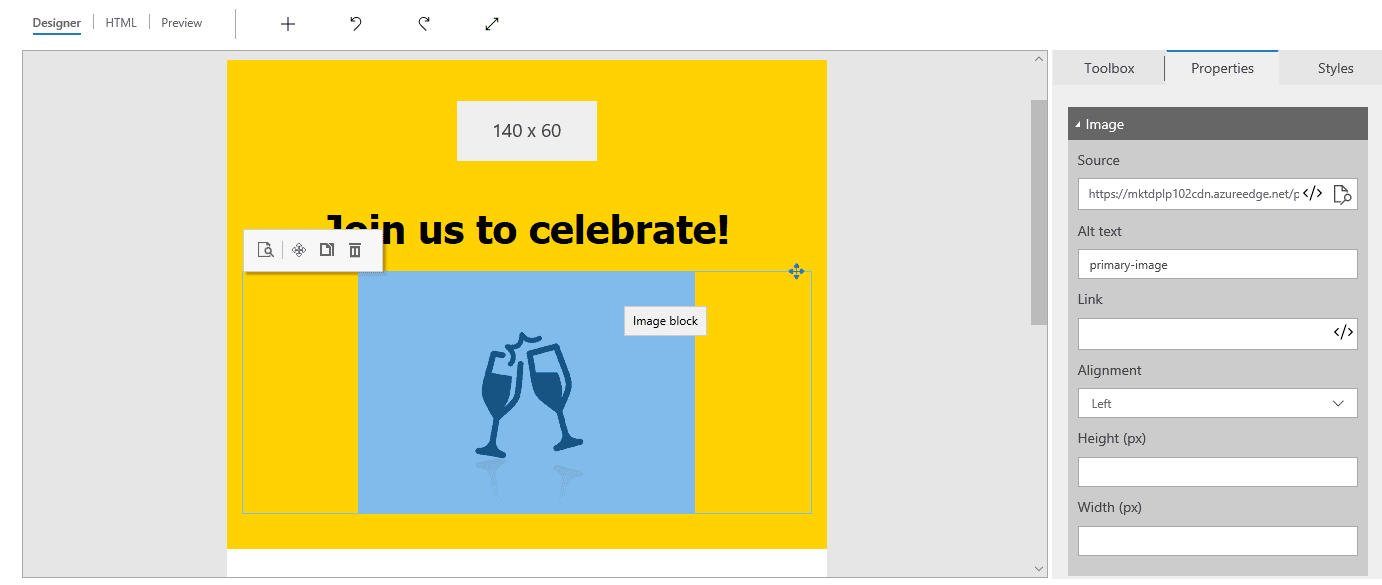
Here, you can change the image if you want to use a different image from the library. You can also add alternative text (which is important for web accessibility) and there is an option to make the image link to a URL as well as to adjust its alignment on the page.
Note: There is no option to edit the images once they are uploaded to the library so you will have to make sure you do any editing before uploading to Dynamics.
Text
When you drag a text element from the toolbox onto your form, a floating toolbar will allow you to add and format the text.
Dynamic Content
Adding dynamic content to an email is fairly straight forward. Inside the text element toolbar, click the (assist-edit) button.
It looks like this.
</>
You will see a drop-down list of the various components from which you can add dynamic content to your template. The most typical request of dynamic content is the first name and the last name of the recipient (and other fields from the contact record) You can access this type of content by selecting the first item in the list Contact[Context]. Once you select this option, you can then select any fields from the contact record.
First, select Contact[Context] from the drop-down list.
Next, select the field you require from the contact record.
The result appears as below
![]()
At the time of writing the ability to do logical content processing is being rolled out in order to provide advanced dynamics content (for example: to add default a value if there is no first name). Currently this will require the person creating the email template to have some understanding of how to write an expression using code. Which, in my experience, isn’t a typical skill found within the marketing department.
Content Blocks
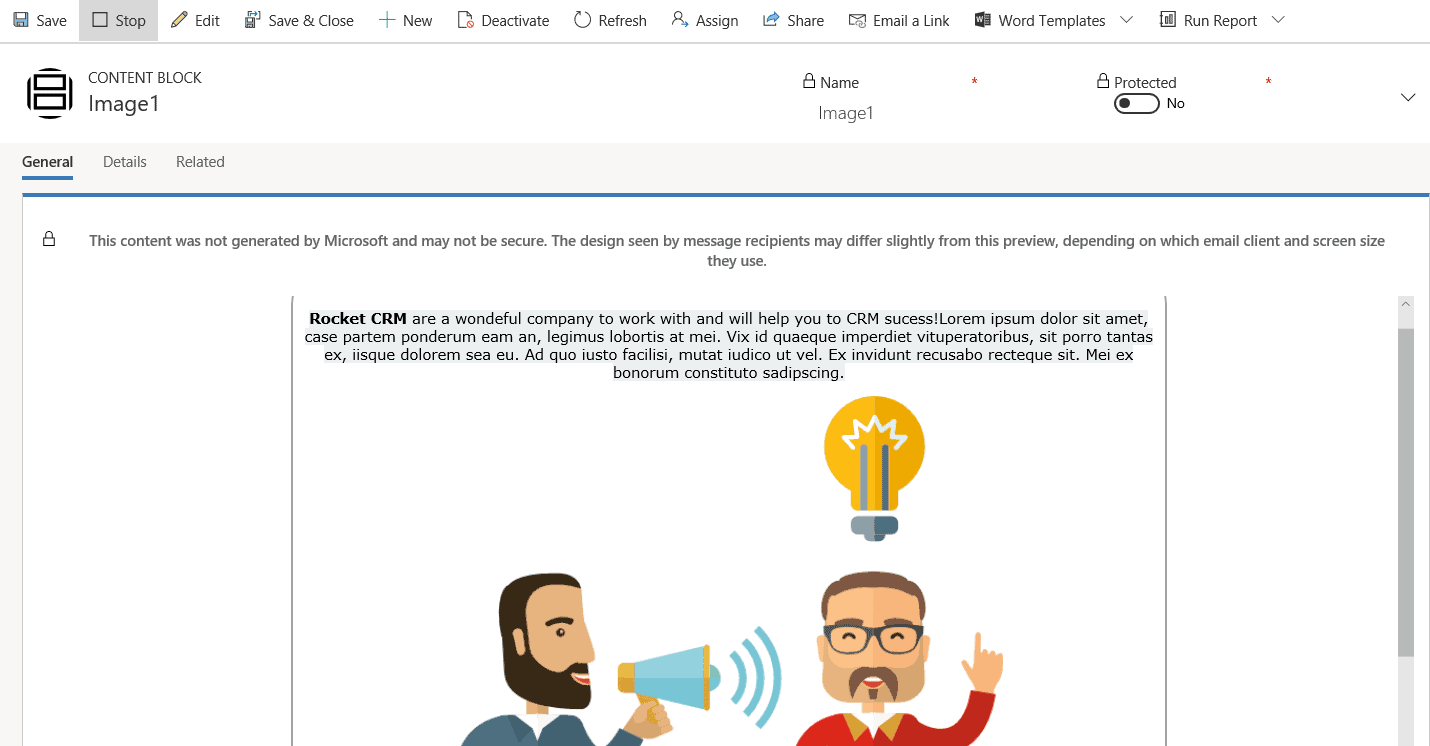
Reusable content blocks are very much like mini-templates. For example, you may have a set of social buttons that you like to re-use for each email or some text and images relating to the training courses that you offer. You make protected content blocks available to all template creators, so that the information can be pulled onto the form in one hit. This means that you don’t have to worry about users making a spelling mistake.
Below is an example of a (not very pretty 😊) content block being pulled onto a template.
Overall Page Design
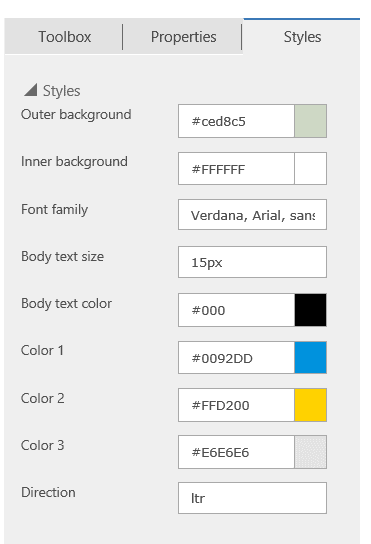
The styles tab is where you can set the overall page design, such as the page background or the font families and sizes used. It is important to note that these can be overwritten at the local level for each element. Depending on the type of template you choose, the actual content of the styles tab may change slightly.
We have noticed a limitation regarding layout and columns. Let’s say you originally chose a template with only one column and you want to change to make it a two-column page, the only way to do this currently is via the HTML tab with code or to start again with a new template.
The overall template colours are also set in the Styles tab. The three colour boxes shown above are as follows:
- Colour 1: Primary Buttons
- Colour 2: Secondary Buttons or feature blocks
- Colour 3: Footer
Previews
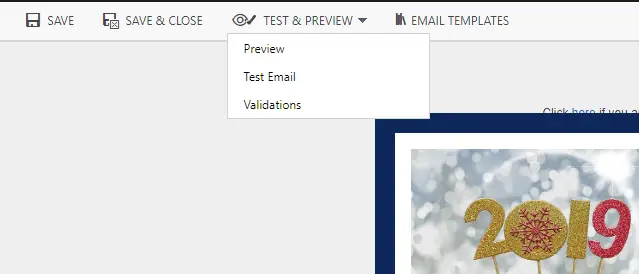
Once you have finished designing your template you choose a basic preview or an inbox preview. The latter is the most accurate because it shows a screen-shot of email rendered in specific email clients.
There are currently a couple of known issues with the in-box previews. (https://docs.microsoft.com/en-gb/dynamics365/customer-engagement/marketing/email-templates#litmus-issues-for-email-design-previews)
Following on from the previews you can, very usefully, send a test email to yourself to further check the template.
Checking for Errors
Use the Check for Errors button in the ribbon to run a check. Then fix any errors, then you are ready to “go Live” with the template. We should point out that the checking is merely a technical check and not a Spam test. There is currently, no Spam testing built into Dynamics 365 for Marketing.
The template is now ready to send to a Marketing Segment.
In Part two of this post (look out for this next week), we will see the template creation experience in Click.
If you want to discuss this post or have a about anything discussed in more detail please get in touch with us to arrange a chat.
Want to discover more about Click marketing sofwtare? Read this article for more insight: The Click feature that puts email marketing power in the hands of mere mortals.
ABOUT ROCKET CRM
Rocket CRM is a Microsoft Dynamics 365, and a platinum Click accredited partner, helping small to medium-sized businesses and charities harness the power of scalable CRM technology. Our mission is to make powerful CRM software simple with custom-built, user-focused solutions.
Website: rocketcrm.co.uk
Podcast: RocketPod
Social: LinkedIn


